Painting Tips and Tricks
When people talk about maintenance, they usually tend to talk about revamping the kitchen, fixing the landscape of the house or, making sure that there is no water leakage. What most people forget is that it is essential to keep your walls and doors paint up to date as well.
We agree, painting your house frequently may be burdensome on your pocket, but how can we forget that painting the walls and doors add life to your home.
To make the drill easier for you, we have jotted down a few tips for you through which you can paint your house without emptying your pocket.
How to Paint Your House on Your Own – Learn the basics
There are two kinds of basic paints for outer areas: Latex is formulated with water, and alkyd is formulated with an oil. Latex can be easily cleaned with soap and water; moreover, it dries quickly and has a very slight odor. Not just this, it stays durable for longer, preventing any frequent maintenance. The latex paints with the highest quality are produced with 100% acrylic resins.
In contrast to latex, alkyd paints require mineral spirits (paint thinner) to be cleaned. Most professional painters like to have alkyd paint since its durable, stain-resistant, flows very smoothly, and dries with very fewer brush marks. Alkyds, however, have a heavy smell of solvent and dry quite slowly.
It’s up to you which one you choose. You must know that if you apply latex paint on a surface that is already painted with alkyd, you will first have to prime the old top layer to make sure that the new topcoat sticks to the old oil paint.
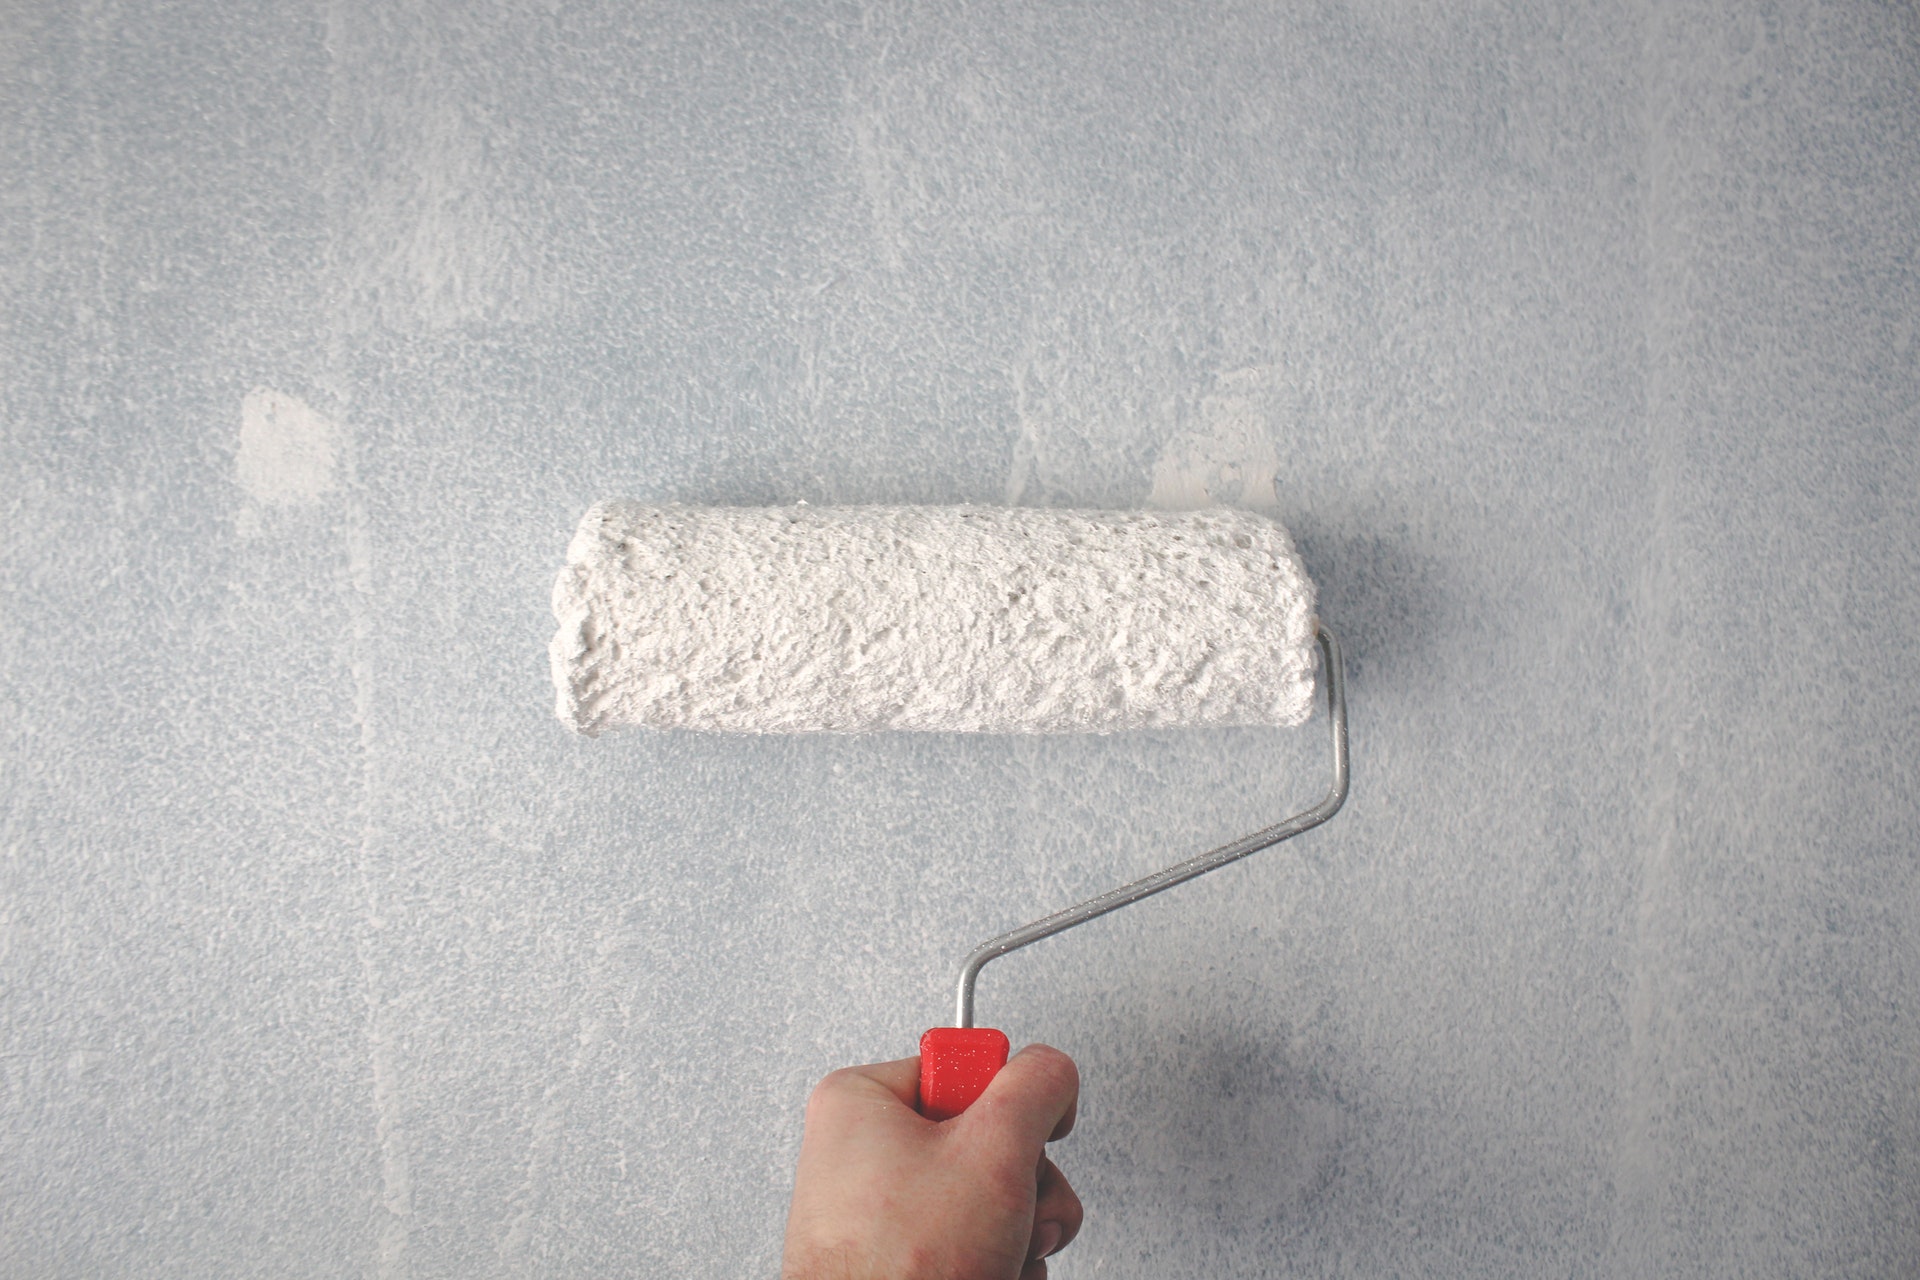
Roll the Paint Along the Wall to Prevent Any Lap Marks
When painting the wall, yourself, the best approach to prevent lap marks is to keep a “wet edge” so that each roller stroke matches up the prior stroke before the paint starts drying up.
Start with a corner to preserve a wet edge and roll the roller up and down the wall’s full height with each move. If necessary, move back to even out thick parts or runs on the wall. Don’t let the roller get almost dry; frequently reload it with paint, so it’s always at least half loaded. Hold the rollers frame open side facing an already painted region.
Mix Multiple Paint Containers in a Large Container for a Smooth Color on the Whole Wall.
You may notice a slight difference if a paint can finishes while you are in the middle of painting the wall and you open new paint can. To solve this issue, you can mix two cans of the paint to negate the slight difference. It’s better to approximate how much paint you’re going to need and mix it in a 5-gallon container (a boxing process).
Remember that it is better to use more paint than using less paint when it becomes difficult to approximate how much paint will be needed to paint a wall. You can always pour the remaining paint back into the container and use it later. Use a bucket and a roller screen instead of a roller tray if the wall is bigger and more painting is required. Loading the roller with the screen is much easier than using a roller tray. Dunk the roller into the bucket of paint and push it along the screen until it starts pouring.
Allow the Paint to Dry to Later Cut the Tape Loose.
You can’t just pull the tape off the frame once the painting is finished. Paint creates a layer between the wall and the tape, separating fragments of drying paint from the surface. Cut it loose before removing the sheet.
Make sure that you make use of a sharp utility knife or box cutter knife to cut the film, but before doing so, allow a minimum of 24 hours for the paint to dry. You can easily find these knives in Chicago. Start in an unobtrusive area to ensure that the paint is smooth enough to cut. You’re going to make a mess if you remove the color while it’s still lumpy. Pull up the tape at an angle of 45 degrees as you cut the paint.
Before Painting the Doors and Ceiling Ensure to Paint the Trim First.
To work like a pro, paint the trims first, then the roof, and then the walls. That’s because taping off the trim is better (and faster) than taping off the walls, so indeed, you should not take both of them off!
Don’t worry if you are not very tidy while painting the walls. Focus only on giving a smooth finish to the wood. Don’t fear about getting the paint on the door, and once you paint the walls, you can wipe the paint off later from the doors. Once you are done painting the trim, and it has dried (at least 24 hours), tape it off (using the tape of a painter’s “quick release”), then paint the roof, and then the walls.
Clean All the Unclean Surfaces and Layers to Have a Smoother Paint Coat.
The paint will quickly chip or rub off if you paint on dusty, sticky surfaces. Clean the grimy areas with a heavy-duty cleaner for a pre-paint preparation before painting to enhance the adhesion of the fresh paint, so they work well on clean, stained, varnished, or enameled objects. They are perfect for cleaning greasy or oily areas such as kitchen and bathroom walls and can be effectively used for painting over the hand marks around light switches and doorknobs.
Wipe the cleaner with a lint-free cloth in a clockwise direction. Start doing this from the bottom and then move up to the top. Fill in any abrasions and gaps after the surface is clean and sand them before painting. These cleaners can be found at a very affordable price in Chicago. Make sure to wear rubber gloves and eye protection to protect yourself.
Painting your house can be a lot of fun. Ask your family to help you out and make memories in the process of beautifying your home. This way, you will not only give life to your house but also have a great time with your family and learning something new and productive.